(770) 529-4731
esen

How to Choose the Right Harness Connector?

Choosing a Harness Connector is a practical engineering decision, not a matter of matching shapes. The International Energy Agency’s Global EV Outlook 2024 reports nearly 14 million electric cars were sold worldwide in 2023, about 18% of all car sales. Electrification adds wiring and connection demands across vehicles and equipment. Each connection must suit its electrical load and operating environment.

A reliable choice starts with the application: required current and voltage, wire size, available space, temperature, moisture, dust, and vibration. Check terminal compatibility, sealing, locking, and service access too. A connector that fits the drawing may still be difficult to assemble beside a crowded battery tray or control unit. Small details matter. Manufacturer specifications and relevant industry standards can narrow the options, but verify the exact part number and approved wire range.

Then assess the complete assembly, not just the connector body. Review assembly instructions, inspect crimp quality, and confirm that seals and locks are properly seated. Where the application is safety-critical, follow the manufacturer’s validation guidance and applicable standards. A bench fit is not proof of long-term performance. Repeated vibration, temperature changes, or poor strain relief can expose weaknesses. This guide explains how to compare connector types, materials, ratings, and installation requirements. No checklist replaces testing in the actual design, and that limitation is worth remembering.
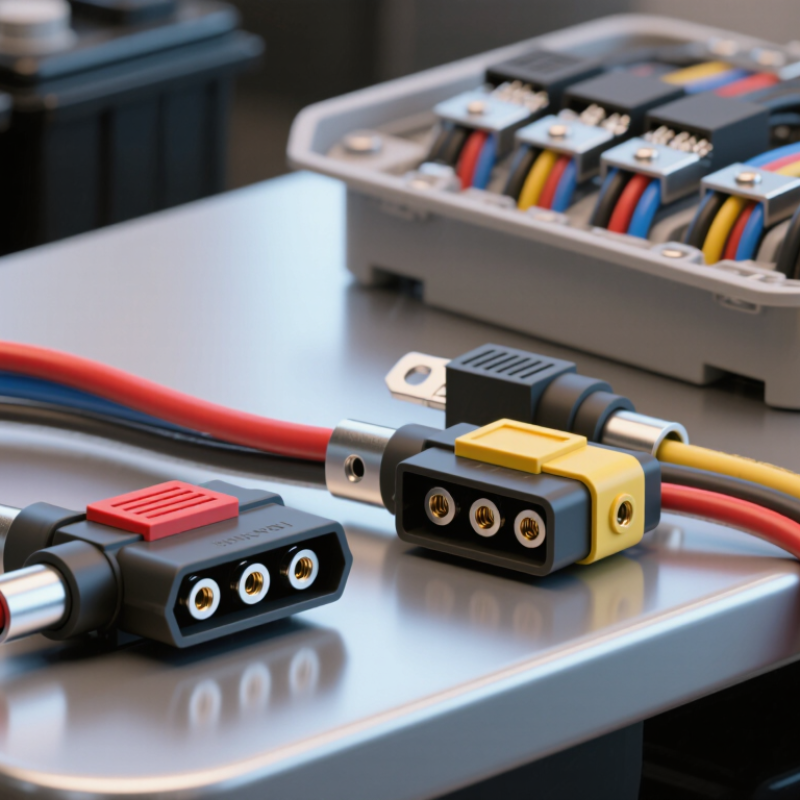
How to Choose the Right Harness Connector?

Define the Electrical and Mechanical Requirements

Before choosing a harness connector, define what each circuit must carry. Record operating voltage, continuous and peak current, and the number of power and signal paths. A connector that fits the pin count may still overheat under sustained load. Include signal type, shielding needs, and allowable voltage drop, especially for sensors or data lines. Note the operating temperature, moisture, dust, vibration, and exposure to oils or cleaning fluids. These details shape the electrical requirements.

Tips: Measure the installation space, including room for the connector body, latch, and cable bend. Check wire gauge against terminal capacity. Leave service access if the connector may need inspection. Small details matter.

Mechanical fit is not enough. Consider mating cycles, locking strength, keying, and whether workers can connect it correctly in a cramped space. For example, a latch hidden behind a panel may be difficult to release during maintenance. Confirm the connector’s ratings against the actual conditions, then test a sample with the intended wires and routing. A spec sheet can miss awkward handling. It is easy to focus on current ratings and overlook how the harness moves after installation. That deserves a second look.


Identify the Harness Connector Type and Configuration

How to Choose the Right Harness Connector?
Identify the Harness Connector Type and Configuration

Start by identifying where the connector sits in the harness. A wire-to-wire connector joins two cable sections, while a wire-to-board type connects wiring to a circuit board. Inline connectors often have matching halves, but their shapes can look deceptively similar to other types. Look closely.

Count the cavities and check the contact layout. Note whether the connector is single-row or multi-row, and measure the spacing between contacts when possible. Inspect the latch, keying ribs, and any seals around the housing. These details help prevent mismatched parts and accidental reversed connections. A matching cavity count alone is not enough.

Then verify the electrical and physical configuration. Check the wiring diagram for pin assignments, and compare wire gauge, rated current, and voltage with the application requirements. Record the connector’s orientation and contact type; terms such as “male” and “female” can be unclear when they describe housings rather than terminals. Don’t rely on housing color as an identifier. A clear photo, measurements, and the equipment documentation make a stronger reference. If a detail remains uncertain, pause and confirm it before selecting a replacement. I might miss a small keying feature on a worn connector, so a second inspection can be worthwhile.

How to Choose the Right Harness Connector? — Identify the Harness Connector Type and Configuration
Connector Type Typical Configuration How to Identify It Common Applications Selection Checks
Sealed rectangular multiway One or more rows of cavities; commonly uses crimped terminals, a housing lock, and individual cavity seals or a perimeter seal. Pin counts vary by design. Rectangular housing with visible terminal cavities, a mating latch, and sealing features such as rubber plugs or a gasket. Engine compartments, underbody wiring, and other locations exposed to water, dust, or splash. Confirm cavity count and layout, terminal size, wire range, seal compatibility, mating orientation, and the required environmental rating. Ratings depend on the exact connector system.
Unsealed rectangular multiway Single- or multi-row housing with crimped pin or socket terminals; usually has a primary latch and may include a secondary terminal retainer. Rectangular body without individual wire seals or a sealed mating interface. Protected cabin or equipment-panel locations where the connector is not directly exposed to moisture or dirt. Check terminal gender, cavity arrangement, wire gauge range, keying, and latch position. Do not substitute an unsealed connector where environmental sealing is required.
Circular multi-contact Contacts arranged around a central axis; mating may use a threaded coupling, bayonet-style coupling, or push-pull mechanism, depending on the design. Round shell with a defined contact pattern and a coupling feature that secures the mating halves. Industrial equipment, instrumentation, and applications where a circular shell or secure coupling is useful. Match contact count and layout, shell size, keying, coupling type, current and voltage ratings, and environmental requirements.
Inline wire-to-wire A mating pair joins two harness sections; configurations range from a single circuit to multiple circuits and may be sealed or unsealed. Two separate housing halves positioned along the wiring run, rather than mounted directly to a device panel. Harness break points, serviceable subassemblies, and connections between separately routed wire bundles. Verify that the mating halves are an intended pair, then check circuit count, terminal type, polarization, latch engagement, wire range, and sealing needs.
Panel-mount or bulkhead One connector half mounts through a panel or wall; the rear side connects to a harness, while the front side provides a mating interface. Flange, threaded body, retaining nut, or other mounting feature designed to secure the connector to a panel. Cabin-to-engine-bay pass-throughs, equipment enclosures, and removable control panels. Check panel cutout or hole size, mounting method, connector orientation, sealing at the panel, mating compatibility, and strain relief for the harness.
Blade or spade terminal connection Flat blade contacts mate with matching receptacles; used as individual connections or inside a multi-cavity housing. Flat, tab-shaped male contact and a corresponding female receptacle; dimensions and terminal series must match. Power, lighting, and accessory circuits, depending on terminal size and the specified ratings. Match blade width and thickness, terminal material and plating requirements, wire size, current rating, insulation support, and any housing or retention features.
High-current power connector One or a small number of larger contacts, often with robust retention and insulation; some designs include touch-protection or interlock features. Contacts are visibly larger than signal terminals, and the housing is designed for higher current conductors. Battery feeds, power distribution, motors, and other circuits whose current requirements exceed those of typical signal contacts. Use the specified current and voltage ratings for the exact terminal, wire size, temperature range, contact protection, and applicable safety requirements. Do not estimate capacity from appearance alone.

Check Compatibility with Wires, Terminals, and Equipment

A harness connector must match the wire, terminal, and equipment—not just appear to fit. Check the wire’s conductor size and insulation diameter against the connector’s approved range. A thick jacket can prevent a terminal from seating fully, even when the copper gauge seems correct. Small details matter. Compare the equipment’s mating interface, cavity layout, and pin assignments with the connector drawing. A plug that clicks into place may still have an incorrect pinout.

Choose terminals designed for the wire type and connector cavity. Confirm the specified crimp range, then inspect a sample crimp for a secure grip and undamaged strands. Do not guess. Check the equipment documentation for current, voltage, temperature, and sealing requirements; these limits can differ between circuits in the same assembly. For outdoor or vibrating installations, verify that the connector’s seal and retention features suit the actual conditions. Before full installation, test continuity and confirm each circuit against the wiring diagram with power disconnected. I have seen “close enough” fit turn into a frustrating rework, so measure twice—and record any mismatch rather than forcing the parts together.

Evaluate Materials and Environmental Protection

A harness connector must withstand the conditions around it, not just fit the wire. For terminals, copper alloys offer good conductivity and strength, while plating helps limit corrosion.

Tin plating is common for many general-purpose connections; harsher or more demanding environments may call for other finishes. Match the choice to the expected temperature, vibration, and exposure rather than assuming one material suits every job. Small details matter.

The housing and seal protect those terminals from water, dust, oil, and road spray. Check the connector’s specified protection rating, but treat it as a test result, not a promise for every installation.

A damaged seal, loose cable gland, or poorly seated terminal can let moisture in. Insulation material also needs to suit nearby heat, chemicals, and sunlight; a cable routed beside a hot engine part faces different risks from one inside a dry cabin.

Abrasion is easy to overlook, especially where a harness rubs against a bracket. Add suitable strain relief or routing clearance, then inspect the assembly after installation.

More protection can add cost and bulk, and may still not solve the wrong routing. I would verify the actual operating conditions before choosing a connector.

Verify Fit, Safety, and Installation Requirements

Choose a harness connector by its complete application, not by shell shape alone. Check the drawing first. Confirm terminal count, keying, wire gauge, current, voltage, temperature range, and sealing requirements. A connector that clicks into place may still have the wrong terminals or inadequate environmental protection. Match the connector and crimp tooling to the manufacturer’s specifications, then inspect each crimp for exposed strands, damaged insulation, or uneven compression. Never force it. Verify the secondary lock is fully seated and perform continuity and retention checks before installation.

Fit is only one part of safety. IPC/WHMA-A-620 provides workmanship criteria for cable and wire-harness assemblies, while application-specific tests should address vibration, moisture, and heat. NFPA’s 2015–2019 Home Electrical Fires report estimates that electrical distribution or lighting equipment was involved in about 34,000 U.S. home fires each year. That figure is not specific to vehicle harness connectors, but it reinforces why connection quality deserves careful inspection. A neat exterior can hide a weak crimp; visual checks alone are not enough. Record the part specification, inspection results, and any deviations, then review uncertain choices with a qualified engineer.